


There’s something incredibly satisfying about making your own food from scratch—especially when it comes to something as versatile and loved as paneer. If you’ve ever wondered whether you can prepare fresh, soft, and delicious paneer at home without any complicated tools, the answer is a big yes.
This guide on paneer recipe at home will walk you through every step in the simplest way possible. Whether you’re a beginner in the kitchen or someone who enjoys cooking regularly, this article will help you master the art of making paneer with ease.
Homemade paneer not only tastes better than store-bought versions but is also free from preservatives and additives. Plus, once you try it, you may never go back to buying it again.
What is Paneer?
Paneer is a fresh Indian cheese made by curdling milk using an acidic ingredient like lemon juice or vinegar. Unlike many other cheeses, paneer does not melt, making it perfect for cooking a variety of dishes.
It is widely used in Indian cuisine and is loved for its soft texture and mild flavor. From curries to snacks, paneer is incredibly versatile.
Why Make Paneer at Home?
Before jumping into the paneer recipe at home, let’s understand why homemade paneer is worth it.
Benefits of Homemade Paneer
- Fresh and chemical-free
- Better taste and texture
- Cost-effective
- Customizable softness or firmness
- Hygienic preparation
Additionally, making paneer at home gives you full control over the ingredients and quality.
Ingredients Required
Making paneer requires only a few basic ingredients that are easily available.
Main Ingredients
- 1 liter full cream milk
- 2–3 tablespoons lemon juice or vinegar
- Ice cubes (optional)
- Water (for rinsing)
Equipment Needed
You don’t need fancy equipment for this paneer recipe at home. Just gather:
- A large pot
- A strainer or colander
- Muslin cloth or clean cotton cloth
- A heavy object (for pressing)
Step-by-Step Paneer Recipe at Home
Follow these simple steps to prepare soft and fresh paneer.
Step 1: Boil the Milk
Pour the milk into a large pot and heat it on medium flame.
- Stir occasionally to prevent burning
- Bring it to a gentle boil
Step 2: Add the Acid
Once the milk starts boiling:
- Turn off the heat
- Add lemon juice or vinegar gradually
- Stir gently
You will notice the milk curdling and separating into curds and whey.
Step 3: Let It Rest
Allow the mixture to sit for 2–3 minutes.
This helps the curds fully separate from the whey.
Step 4: Strain the Paneer
- Place a muslin cloth over a strainer
- Pour the curdled mixture into it
- The liquid (whey) will drain out
Step 5: Rinse the Paneer
Rinse the paneer under cold water to:
- Remove the sour taste of lemon/vinegar
- Cool it down quickly
Step 6: Squeeze Excess Water
Gather the cloth and gently squeeze out excess water.
Step 7: Press the Paneer
- Place the wrapped paneer on a flat surface
- Put a heavy object on top
- Let it rest for 20–30 minutes
This step gives paneer its firm shape.
Tips for Perfect Paneer
To get the best results from your paneer recipe at home, keep these tips in mind:
Milk Quality Matters
- Use full cream milk for soft paneer
- Avoid toned or skimmed milk
Don’t Over-Boil
- Turn off heat before adding acid
- Over-boiling can make paneer hard
Add Acid Gradually
- Adding too much at once can ruin texture
Use Cold Water
- Helps maintain softness
How to Store Paneer
Proper storage is essential to maintain freshness.
Short-Term Storage
- Keep paneer in water in the fridge
- Use within 2–3 days
Long-Term Storage
- Store in an airtight container
- Can be frozen for up to 1 month
Common Mistakes to Avoid
Even a simple paneer recipe at home can go wrong if you’re not careful.
Avoid These Mistakes
- Using low-fat milk
- Adding too much acid
- Not rinsing paneer
- Over-pressing (makes it too hard)
Variations of Paneer
Once you master the basic recipe, you can try variations.
Flavored Paneer
- Add herbs like coriander or mint
- Mix spices for a unique taste
Soft Paneer
- Press for less time
- Ideal for desserts
Firm Paneer
- Press longer
- Best for curries and frying
Popular Dishes You Can Make with Paneer
After preparing paneer using this paneer recipe at home, you can try:
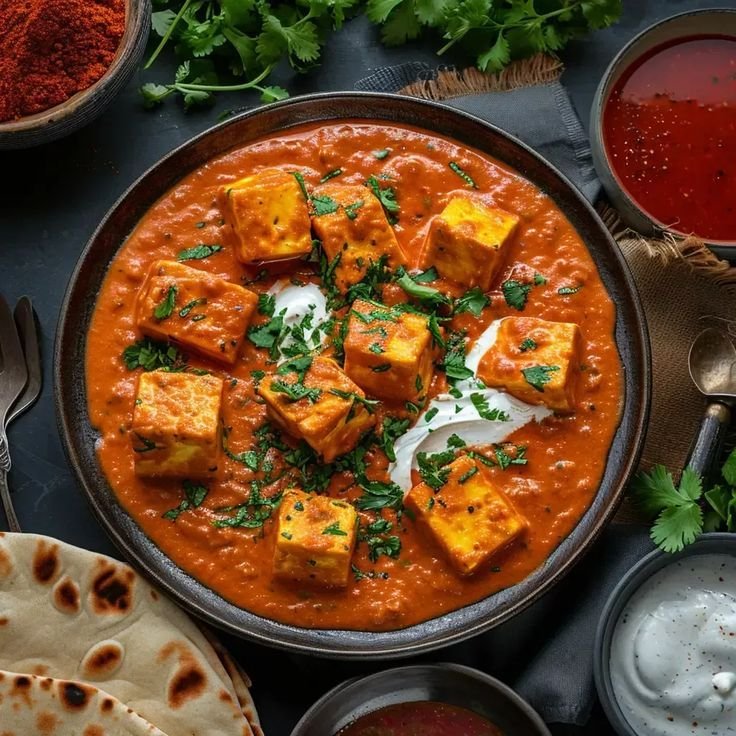
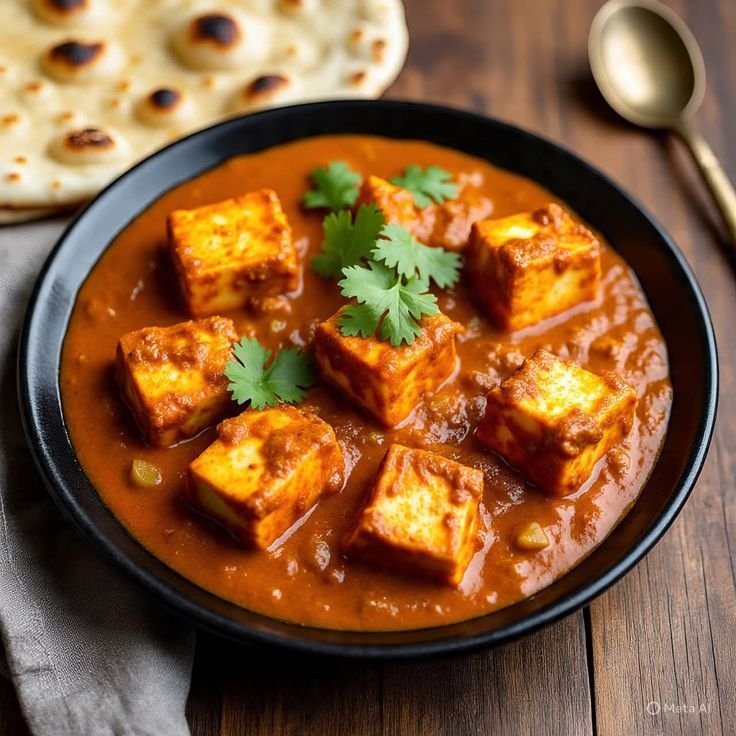
- Paneer Butter Masala
- Palak Paneer
- Paneer Tikka
- Shahi Paneer
- Paneer Paratha
These dishes become even more delicious with fresh homemade paneer.
Nutritional Benefits of Paneer
Paneer is not just tasty—it’s also healthy.
Key Nutrients
- High in protein
- Rich in calcium
- Good source of healthy fats
- Supports muscle growth
It’s especially great for vegetarians looking for protein-rich foods.
FAQs About Paneer Recipe at Home

Can I use vinegar instead of lemon juice?
Yes, both work equally well. Just use in small amounts.
Why is my paneer hard?
Possible reasons:
- Overcooking milk
- Too much acid
- Pressing too long
Can I reuse the leftover water?
Yes! The whey can be used in:
- Dough kneading
- Soups
- Smoothies
Conclusion
Making paneer at home is simple, rewarding, and far better than store-bought options. With just a few ingredients and the right technique, you can create soft, fresh, and delicious paneer anytime.
This paneer recipe at home is perfect for beginners and experienced cooks alike. Once you try it, you’ll realize how easy and satisfying it is.
Leave a Reply